 |
 |
|
Hello Moda Precut Lovers! It’s Bradie, from A Quilty Kind of Girl here to share my Baby on the Go Diaper Bag Tutorial. I have made this bag a couple of times now, and every Mommy who gets one just loves it! A single jelly roll will yield two bags!
|

For this project you will need:
One Jelly Roll of Hunky Dory by Chez Moi.
One Charm Pack of Moda’s Hunky Dory.
1 1/2 yards of coordinating fabric for inside of ONE bag.
17 inch zipper.
44 X 48 inch piece of batting.
6 inch by 45 inch piece of batting.

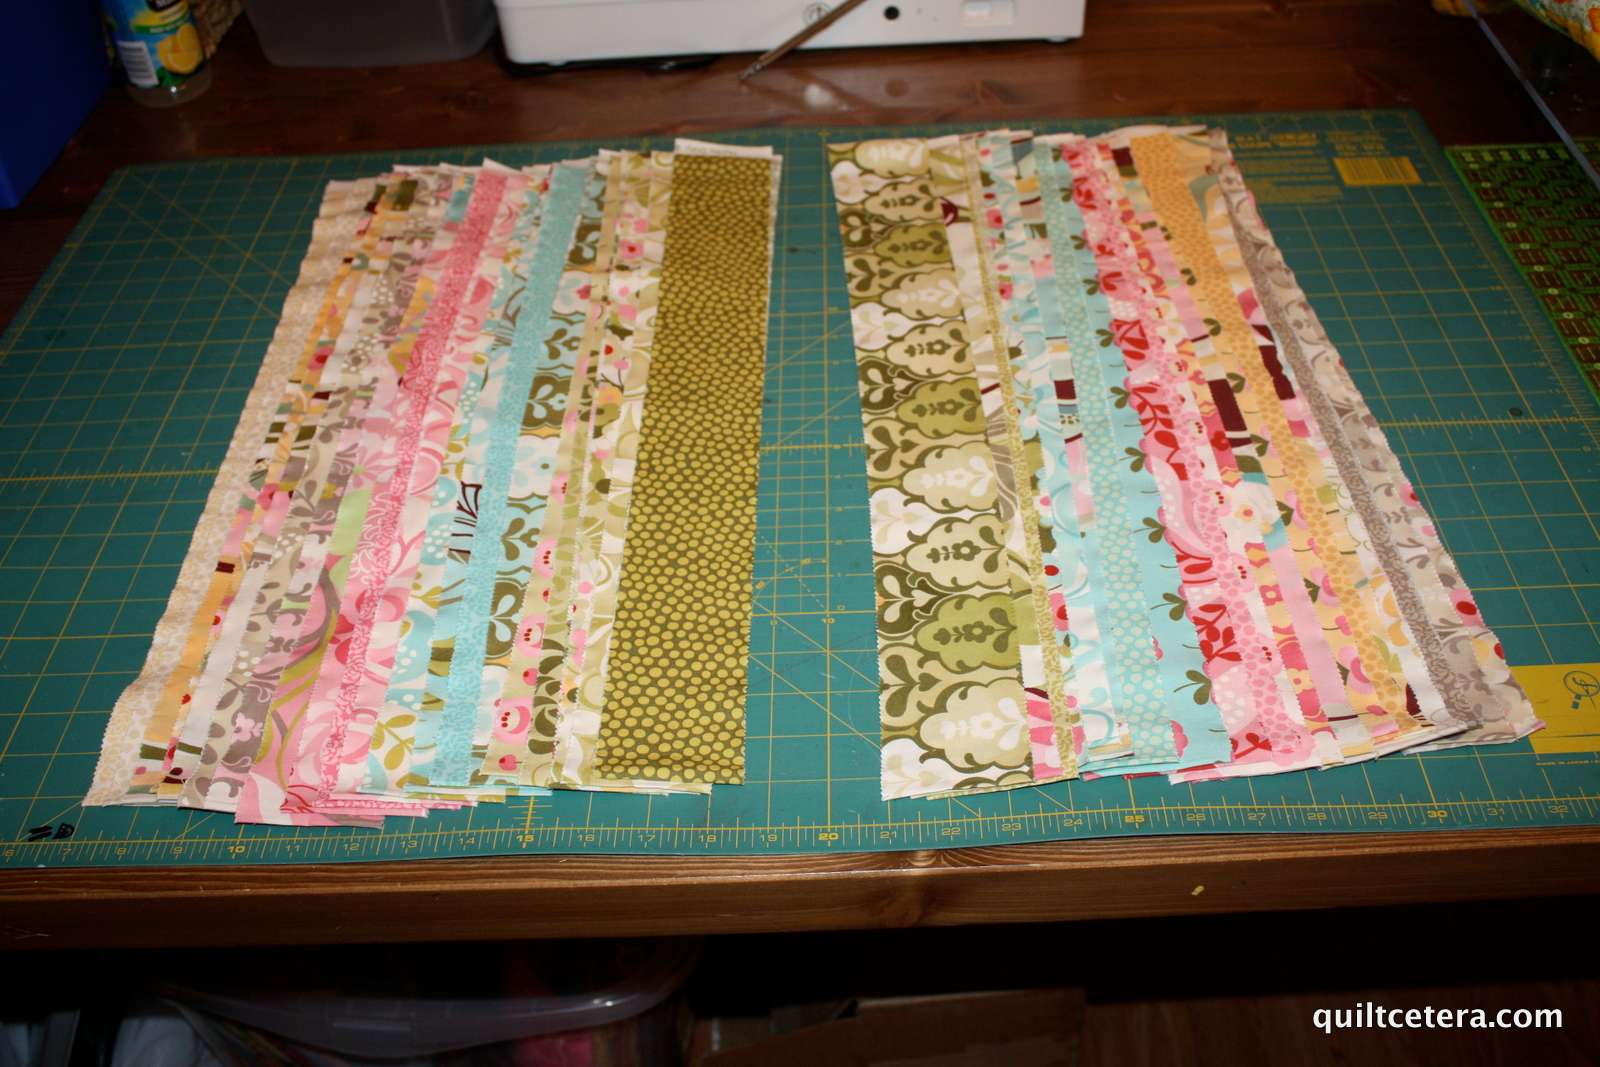
Separate the jelly strips into two piles of 20. Each pile of 20 will make one diaper bag.
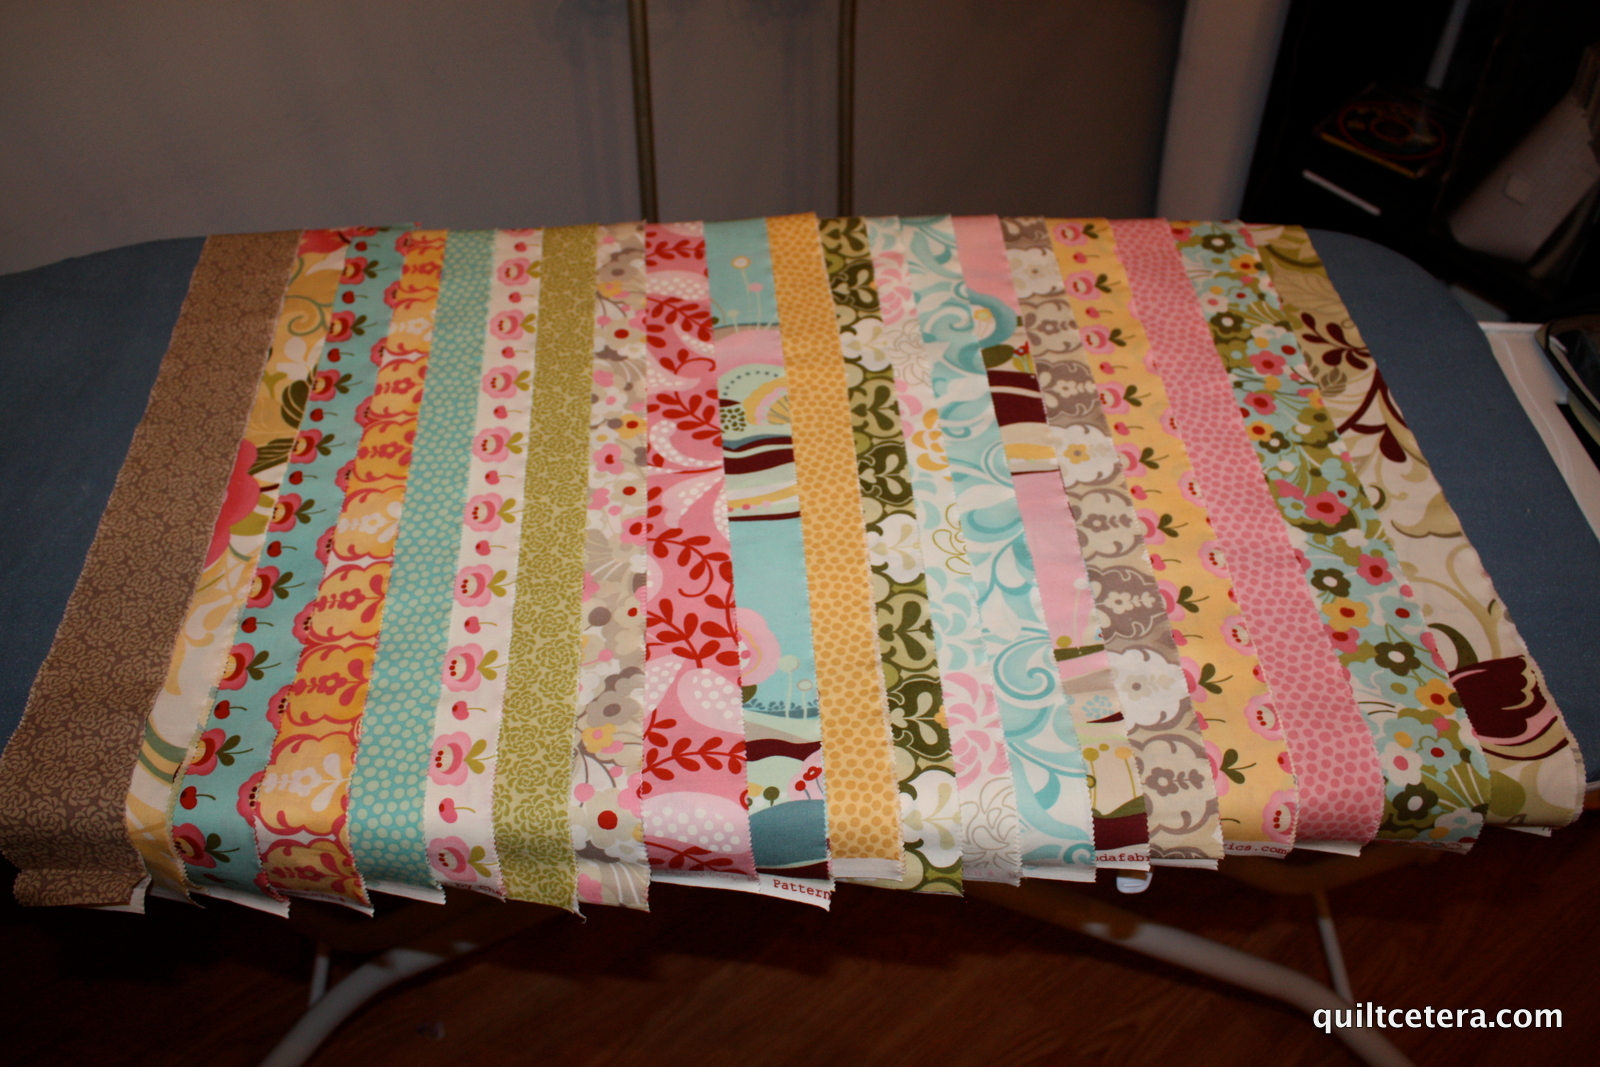
Layout your strips for the diaper bag in the order you like. Then sew the strips together, first in pairs, stitching from top to bottom. Then sew the remaining seams in the opposite direction, bottom to top. This will keep your piecing nice and straight. Your finished piece will measure 40.5 X 44 inches.

Sandwich like a quilt top with batting and the bag lining fabric. Quilt however you like. Mine has wavy lines stitched along the seams. Quick and Easy! Trim away the extra batting and backing so your piece measures 40 X 44.
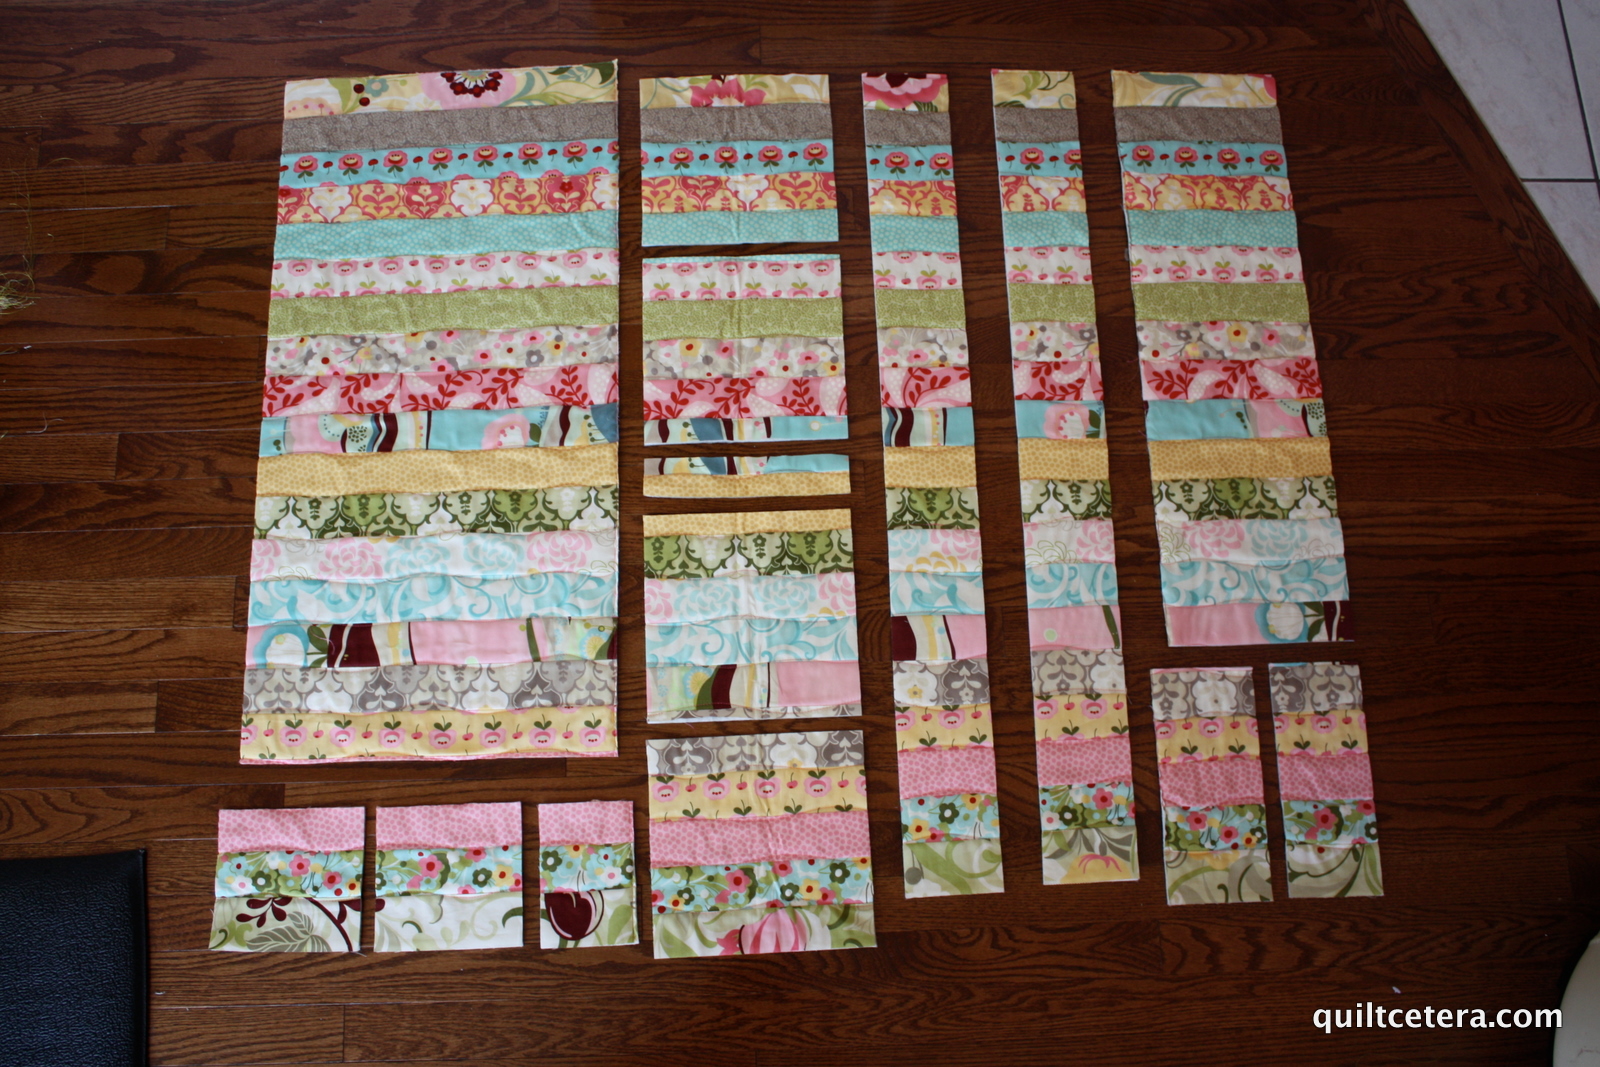
Now you can cut the following size pieces from your diaper bag quilt sandwich:
Main Body of Bag 33 X 16 inches
Sides 2 Pieces 9 X 9 inches.
Side Pockets 2 Pieces 9 X 9 inches.
Front Pockets 2 pieces 6 X 6 inches.
Handles 2 pieces 4 X 40 inches.
The remaining pieces are extra and may be set aside for some other creative endeavor!

Now to prepare the pockets. You need TWO (9 X 9) inch squares, and the TWO (6 X 6) inch squares. Fold 1/2 inch of the top edge over to the wrong side and press. Then fold another half inch and pin in place. Stitch in place to create a finished edge for the top of the pocket. Repeat for the other pockets.
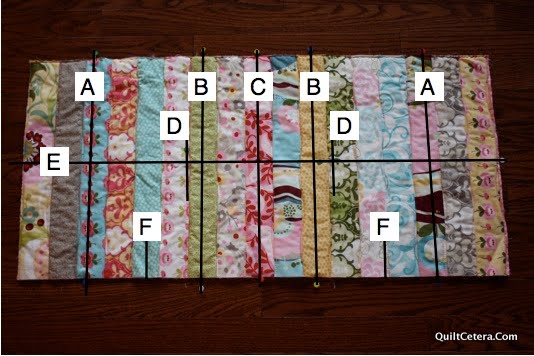
Use this diagram to make the following markings on the bag body. Use a marking method which will wipe away easily once project is complete.
MAIN BODY OF BAG – MARKINGS:
A – 12 INCHES FROM VERTICAL CENTER
B – 4 INCHES FROM VERTICAL CENTER
C – VERTICAL CENTER
D – BOTTOM OF SMALL POCKETS – 5 INCHES FROM CENTER
E – HORIZONTAL CENTER
F – 8 INCHES FROM VERTICAL CENTER (mark both sides of bag)

Mark the center of the two smaller pockets, and place the two pockets face down on the bag body, lining up the pocket center with the pocket marking line.

Pin in place and stitch 1/4 away from raw edge. Stitch only the bottom of the pocket. Repeat for second pocket.
Fold pocket up so right side is showing and pin in place. Baste the sides of the pocket to the bag body. We will stitch over these again when we attach the handles.

Stitch the two handle strips together at both ends to form a long circular handle 80 inches long. Lay handle right side down on ironing board. Fold the two long edges in to meet in middle. Then fold the entire strap in half, pressing as you go to hold in place. Stitch down the long side with matching thread to hold handle together. Lay out the handle on the bag body. Center handle over the sides of the two pockets to cover the raw edge of the pocket. Pin handle in place.

Stitch handle to bag body using same thread used for quilting. Stitch up to and along the 12 INCH marking line, then cross the strap and stitch down the other side of the strap. You do not want the handles stitched onto the top portion of the bag.

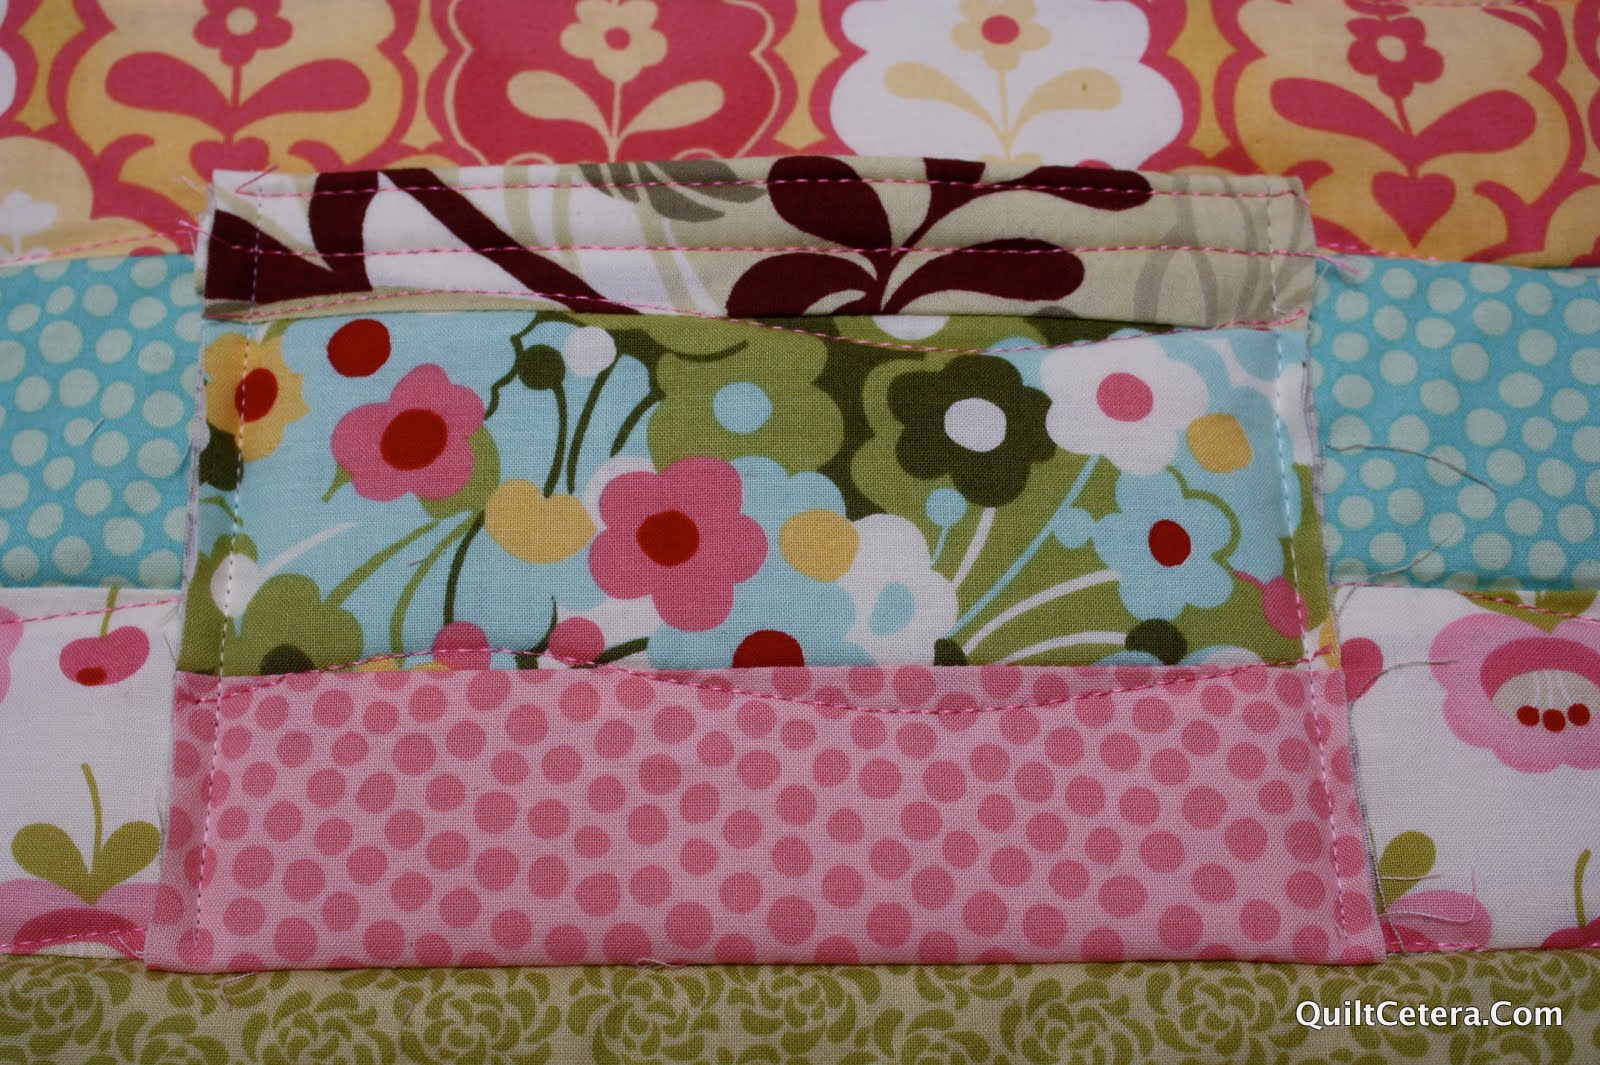
A close up view of the handle and pocket after stitching.

Oh! The charm pack! What are we going to do with these…
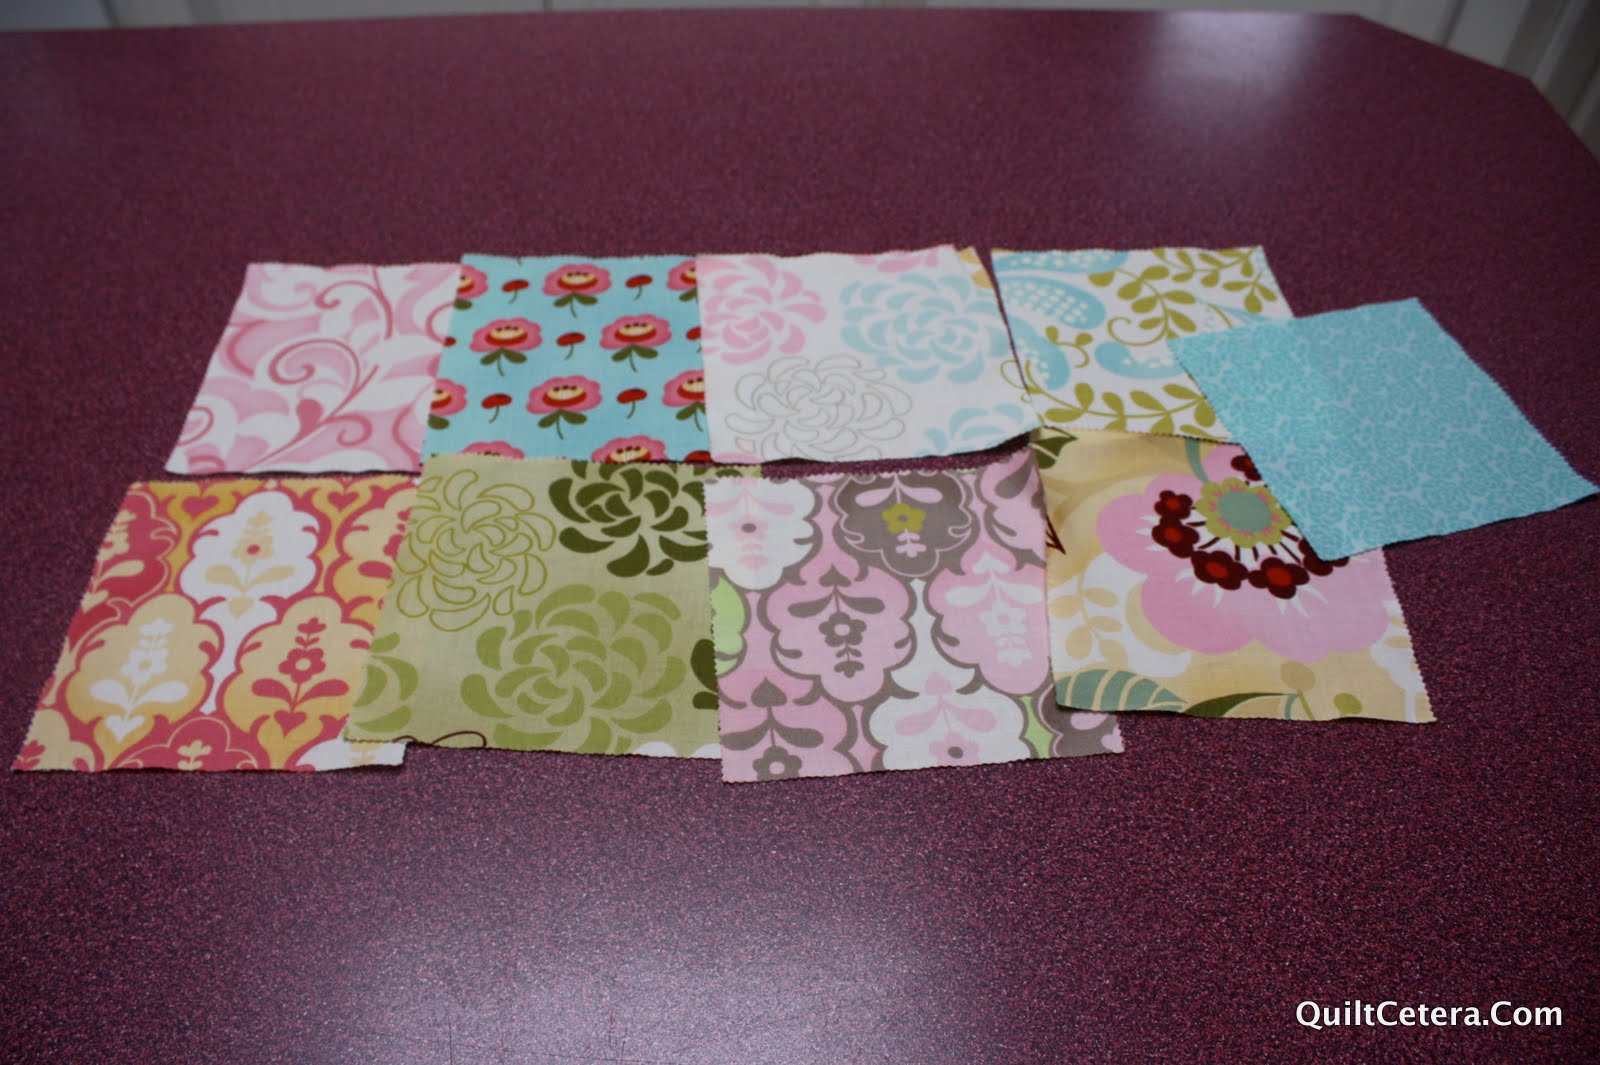
Now to make a shoulder strap for your diaper bag! Choose nine squares….
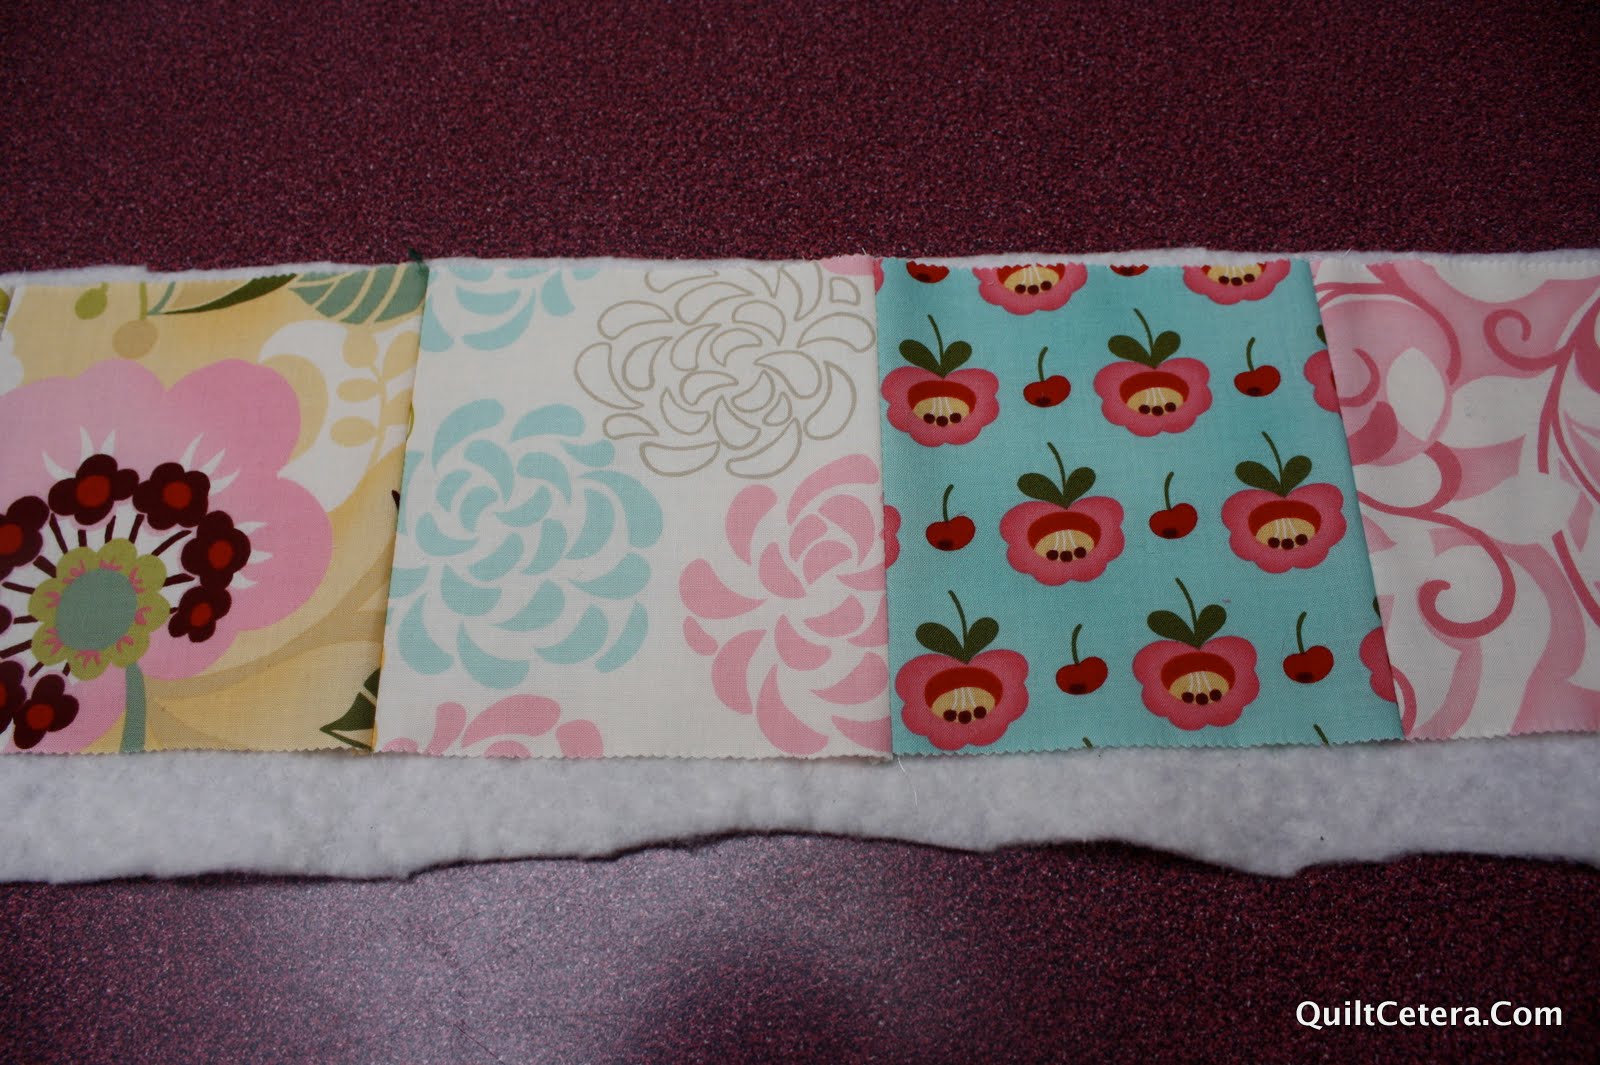
Sew them together in one long row. Place right side up on top of the 6 inch by 45 inch piece of batting. Stitch around the entire strap about 1/8 inch from the edge.

Trim away all the excess batting.

Fold strap in half the long way, with right sides of fabric facing each other. Stitch down the long side, leaving the short sides open. Turn strap right side out and press with seam to one side. Top stitch the strap with your matching thread, about 1/4 inch from edge, on both long sides of the strap.

Now this is my favorite part… I know I’m getting soooo close to being DONE!! Mark the center of all four pocket sides. See picture….
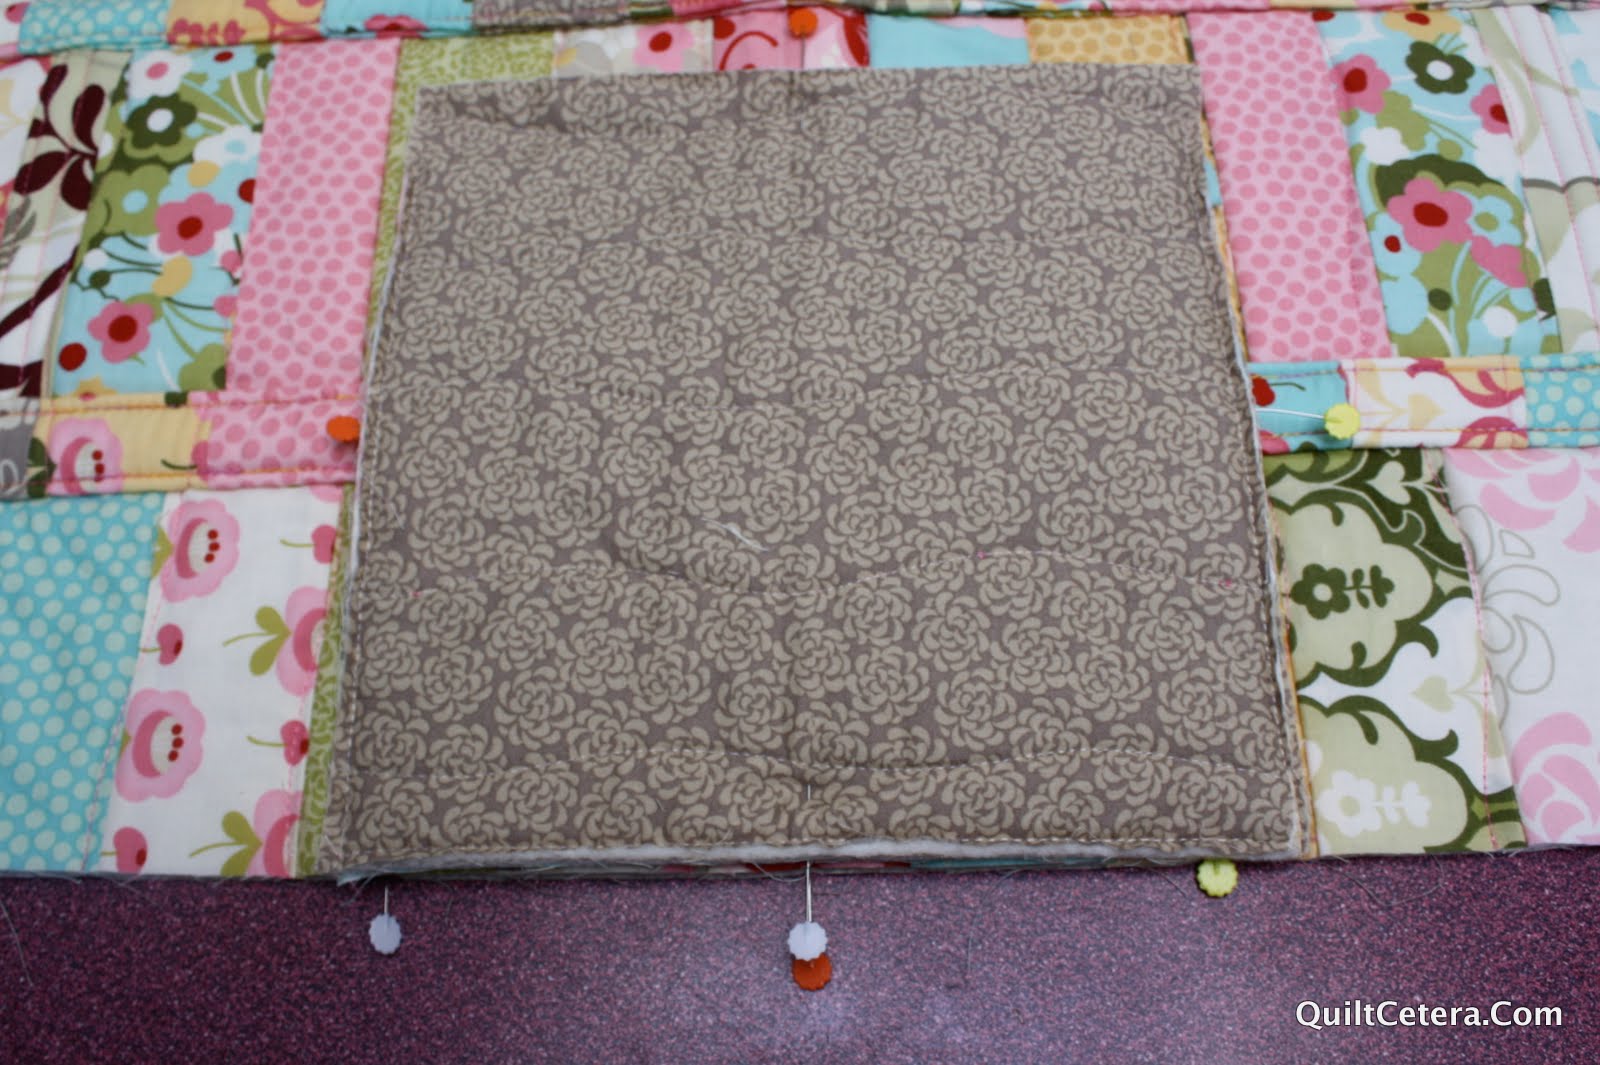
Place pocket, right sides facing, on the center marking line of the bag body. Line up the center pocket marking, with the center bag line and pin in place. Repeat with second pocket on opposite side of bag. Begin stitching (with a HALF INCH seam allowance) half an inch from edge of pocket, and finish stitching half an inch from pocket edge. This will give your bag nice square corners. 🙂 Repeat for pocket on other side of bag.

This is how the bag will look, once pockets have been attached.

Now we will stitch the side of the pocket to the side of the bag. Fold the pocket over top of the bag to line up the pocket center marking with the EIGHT INCH marking line on the bag. Pin in place. Again you begin stitching half an inch from pocket edge, and finish stitching half an inch from pocket edge. Repeat for second pocket.

Look! You’re getting closer!!

Now fold the pocket over to line up the other side of the pocket. Pin in place and stitch the same way as you did the other two sides.

Another peek…

Now… let’s attach the shoulder strap, k? Mark the center of the short side of strap and pin to the center of the pocket TOP. Make sure your strap is NOT twisted, (Don’t ask…) and pin to the other side of bag as well.

Baste the strap to the bag. We will reinforce these stitches when we finish this edge of the bag.

NOw to attach the zipper… keep the bag inside out. Pin the zipper, right sides facing to the raw edge of the bag top. Stitch 1/4 inch from zipper edge.
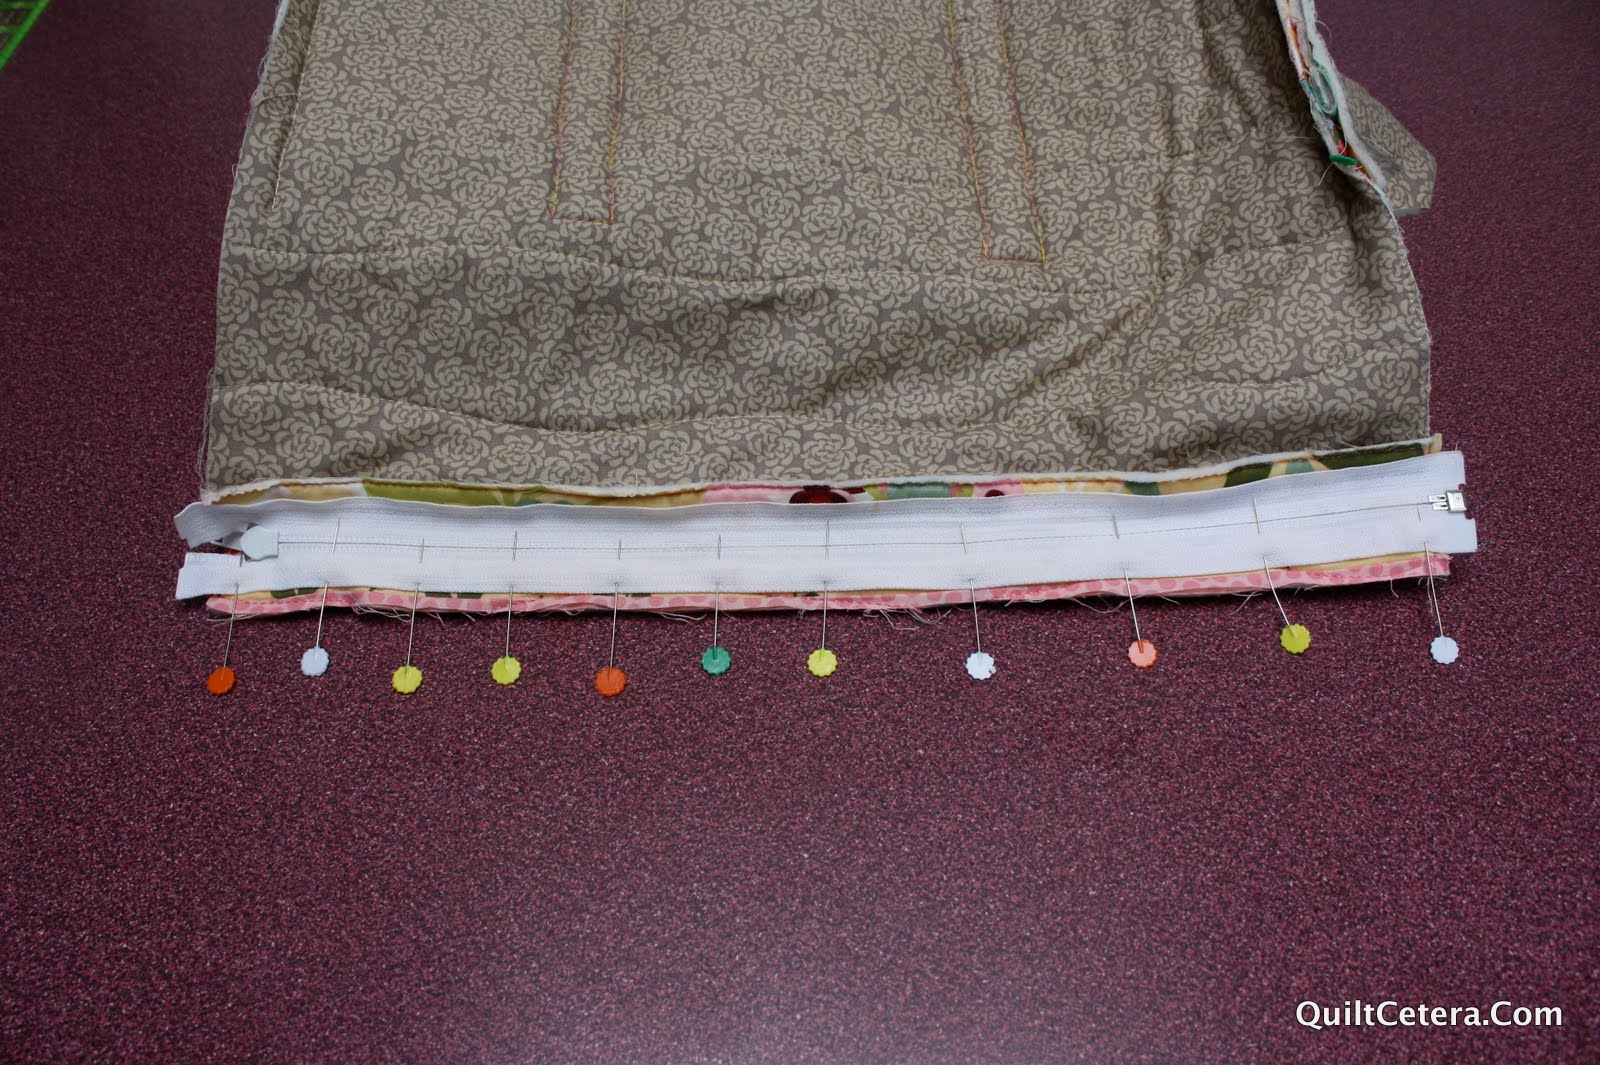
Pin other side of zipper to other side of bag top. Stitch in place.
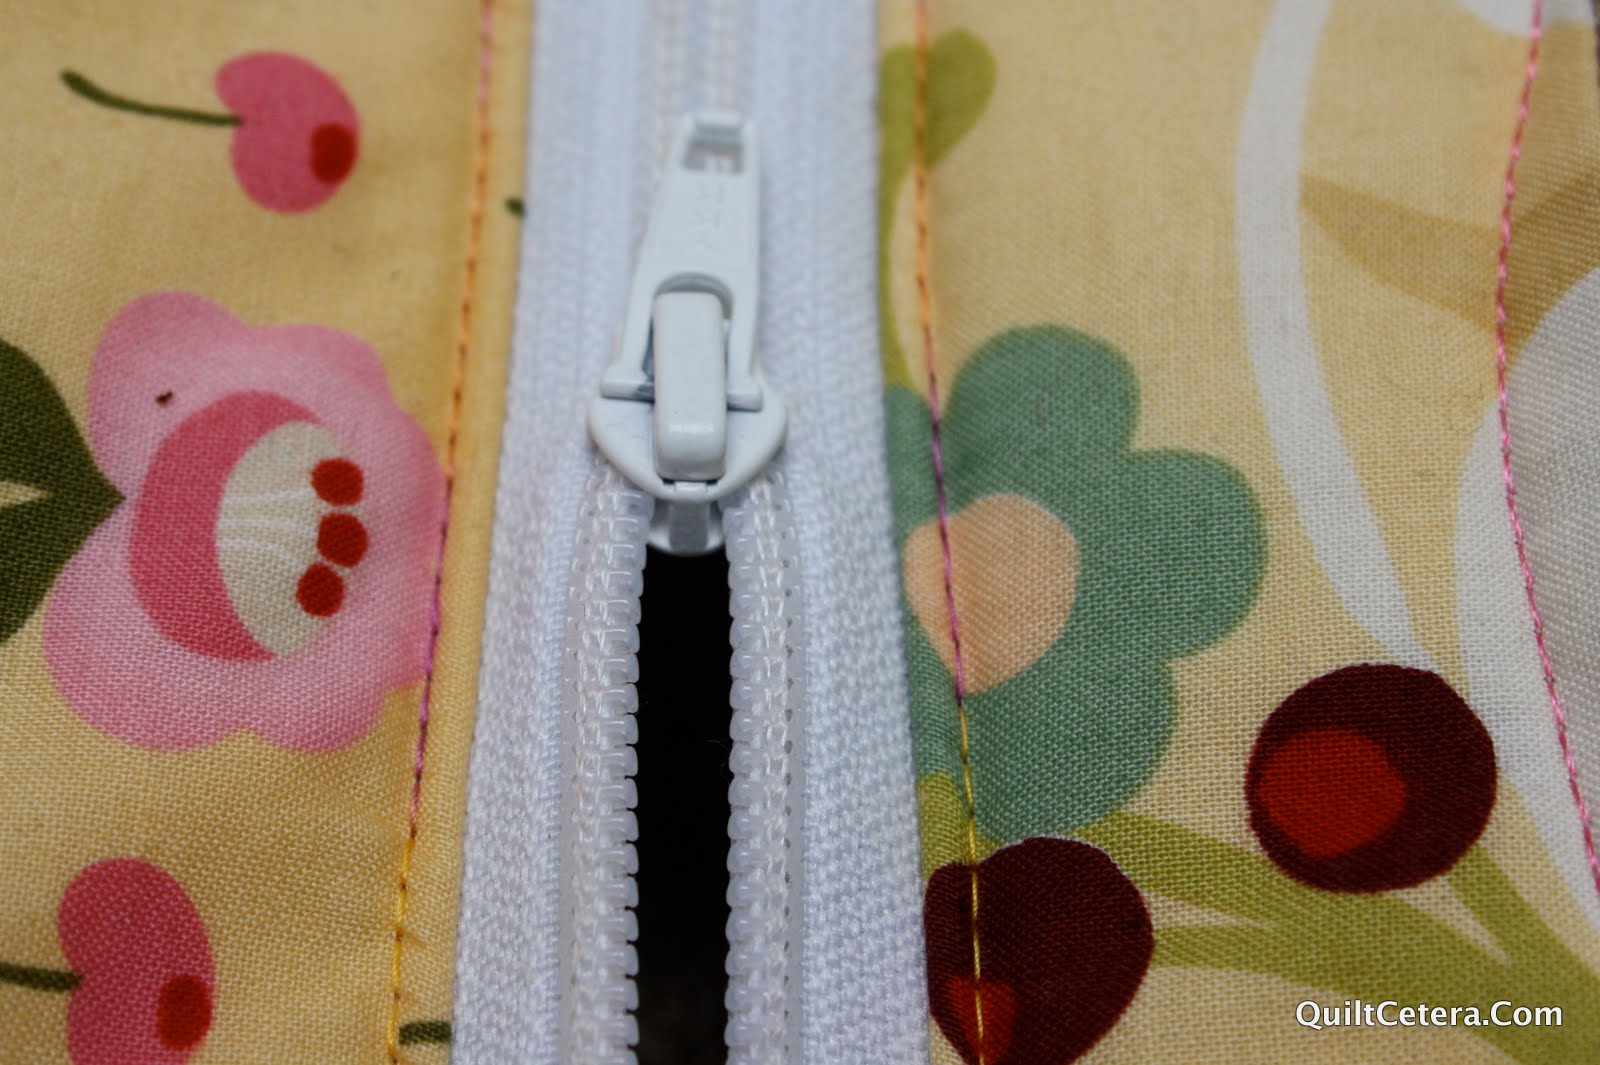
Turn the bag right side out, and top stitch along the edge of zipper with your matching thread. Stitch about 1/8 inch from the edge.

Now, believe it or not!!! it’s time to finish those last two edges of the bag! Pin the opening in place and stitch closed. It is wise to stitch with the zipper side up to anticipate the metal fixtures on the zipper (Again, don’t ask….)
It is a good idea to go back along the inner seams of the bag and finish them either with seam binding, or even a simple zig zag stitch in the seam allowance. This will improve the durability of your bag and it will hold up better if laundering is required. 🙂

One ridiculously cute diaper bag to carry baby’s every need! Bag is large finishing at 16 X 8 X 8 inches. Shoulder strap has a 17 inch drop.
Bradie Sparrow
A Quilty Kind of Girl
![]()
