
by Roslyn Mirrington of Bloom
The muted prettiness of ‘Aster Manor’ by 3 Sisters combined simply with linen, pearl buttons and ric-rac make up this dreamy little pillow.
Finished size: approximately 12″ x 20″


1 x ‘Aster Manor‘ by 3 Sisters honey bun (3990HB)
0.5 yard linen or linen/cotton blend fabric
1 x rectangular cushion insert, 30 x 50 cm (12″ x 20″)
7 x cream pearl buttons (I used Moda’s ‘Bag of Buttons’)
0.75 yard ivory 0.5″ cotton ric-rac
lightweight fusible fleece (I used Vilene H 630 made by Freudenberg)
piping cord
ecru DMC embroidery floss

From the fusible fleece, cut a rectangle 12.5″ x 20.5″.
From the honey bun, choose 7 strips. From each of these strips, cut a 12.5″ length.

Lay the rectangle of fusible fleece on ironing board, with fusible side up. Lay the first fabric strip along one short edge of the fleece, and fuse.

Lay the second strip on top of the first strip, right sides together. Pin in place.

Using a 0.25″ seam, stitch the strips together to the fusible fleece.

Open the strips, & flip the second strip onto the fusible fleece and press.

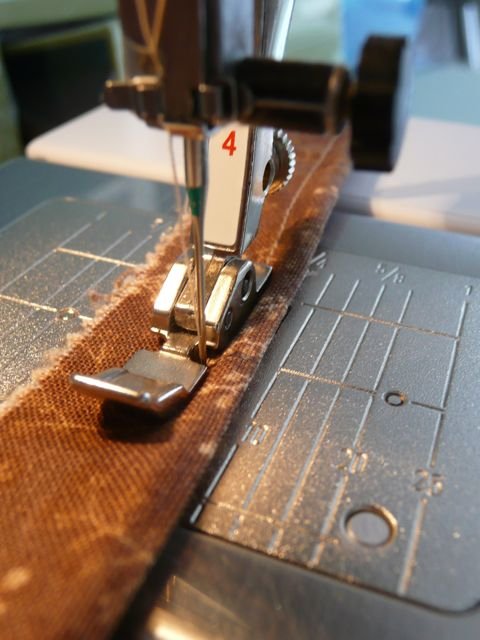
Cut a 12.5″ piece of ric-rac. Pin the ric-rac in place on the second fabric strip.

Sew ric-rac in place using a 0.25″ seam.

Lay the third strip on top of the second strip & ric-rac, right sides together. Pin in place.

Flip the pillow cover over. Stitch the third strip in place by stitching just inside your previous row of stitching.

This ensures that the row of stitching holding the ric-rac in place does not show when you flip the third strip back and press.

Using this method, add a further 4 fabric strips to the pillow panel, with a second row of ric-rac between the 3rd and 4th fabric strips.

Making the piping
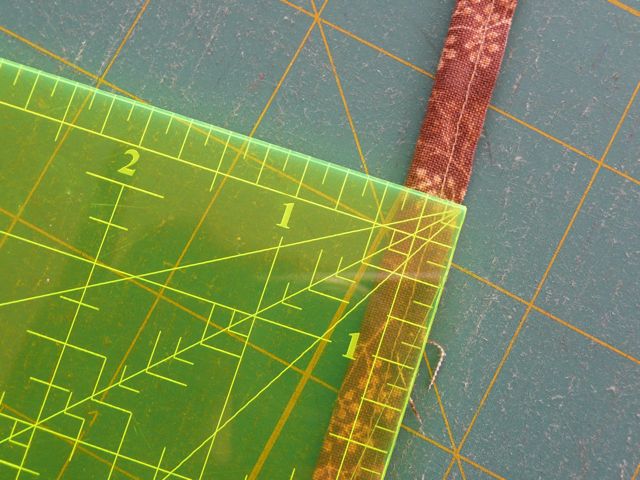
Cut a 12.5″ strip from one of your honey bun strips. Press the strip in half lengthwise, wrong sides together. Place the piping cord along the fold on the inside of the strip. Pin.

Using a zipper foot, and moving your sewing machine needle far to the right, sew a row of stitching as close as you can to the piping cord.
Trim the fabric strip to 0.25″ from your stitching line.
Pin your piping to the last fabric strip of your pillow panel.

Again, using the zipper foot, stitch the piping to the pillow. Try to stitch just inside the previous row of stitching.

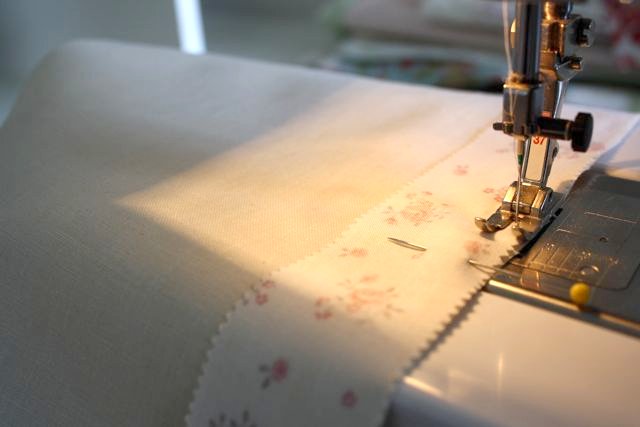
From the linen fabric, cut a rectangle 12.5″ x 13.5″. Pin the linen rectangle to the pillow front. Flip the pillow panel over & sew the linen to the panel by stitching along the previous row of stitching which secured the piping.

Press the linen back across the fusible fleece & fuse.

Button embellishment
Seven pearl buttons are hand-stitched on the sixth strip of the pillow top. Place a small pencil mark 1.75″ in from the top and bottom edge. Mark every 1.5″ between.

Using 3 strands of ecru DMC embroidery floss, work a running stitch along the centre of the sixth strip, stopping at each pencil mark to secure a pearl button.

Making the pillow back
Cut one rectangle of linen fabric, 8″ x 12.5″. From a honey bun strip, cut one 12.5″ length. Pin the honey bun strip to the 12.5″ edge of the linen rectangle, with the right side of the strip towards the wrong side of the rectangle – I know this sounds weird, but stay with me! Stitch with a 0.25″ seam.
With the wrong side of the honey bun strip facing up, press 0.25″ seam under.

Fold the honey bun strip back over to the right side of the rectangle.

Topstitch this honey bun strip, 1/8″ in from either edge.

Cut another rectangle of linen fabric, 17″ x 12.5″. Turn the 12.5″ end of the rectangle in 1.25″ towards the wrong side and press. Turn in a further 1.25″ to give a double hem. Stitch this hem, 1/8″ in from either edge.

Lay the two back rectangles, with the honey bun strip trimmed piece overlapping the hemmed linen piece. Overlap the rectangles until the total width is the same as your pillow front. Pin in place.

Stay-stitch the backing pieces together at the overlap, top and bottom, using 1/8″ seam.

Making the ties
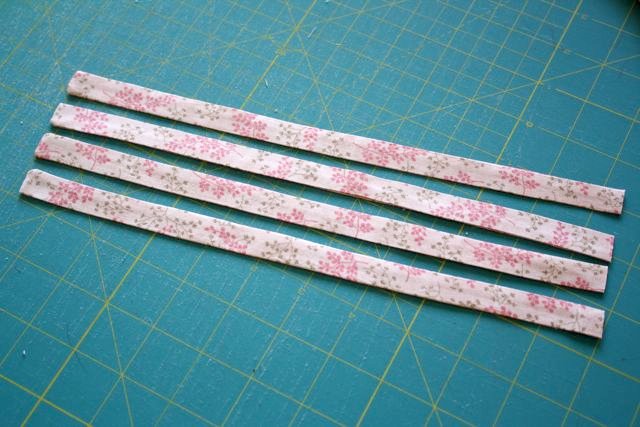
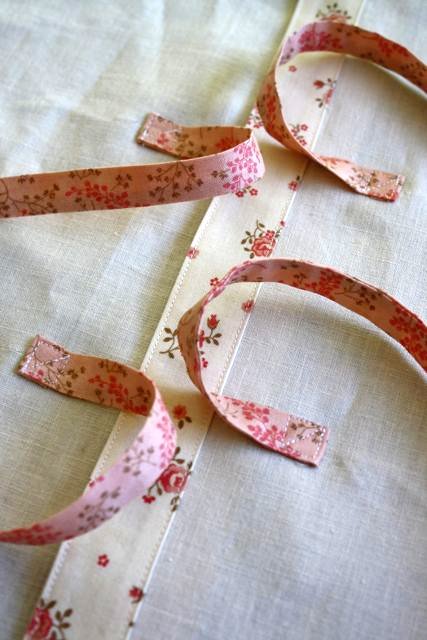
Choose a honey bun strip for your ties, and cut into four equal lengths (approximately 10.5″ to 11″). Fold each strip in half lengthwise, right sides together and press. Stitch across one short end and along each long side using a 0.25″ seam. Turn the tie right side out and press. Make four ties.
Pin two of the ties to one side of the back panel, centred at 4.25″ and 8.25″ from the top. (The raw edge of the tie will be against the ruler).

Stitch across the end of the tie to secure.

Fold the ties back over themselves and pin.

Topstitch the ties in place as shown below to enclose the raw edge.

Repeat for all four ties.
Completing the pillow
Place the pillow front and back right sides together. Keeping the ties well out of the way, stitch around the entire pillow using 0.25″ seam. Overlock or zigzag the seam to strengthen if desired.

Turn pillow cover to right side through the back opening. Put cushion insert inside cover and your pillow is complete. The front side should look something like this:

The back of your pillow should have two nifty little bow ties.


Each honey bun will yield approximately 10 of these pillows.
![]()
