
My newest project for Moda Bake Shop is a quick & easy gift bag. Just fill it up with a matching charm pack and maybe even a cute teddy bear too. You could also add any quilt notions and more fat quarters if you like. What a fun gift to give to your quiltie peeps.
Other ideas:
- I’ve also made the gift bag as a birthday present for my daughter’s friends and filled it with things like make-up, nail polish, jewelry and candy. I’ve even put a Webkinz inside the bag along with other treats. The girls are crazy about these bags.
- Give it as a party favor filled with treats at your child’s birthday party.
- You could also fill the bag and give it as a gift to your quilt group.
So Let’s Begin:

- 4 fat quarters from the Snippets Collection by American Jane
- 1 Snippets Charm Pack by American Jane (this will be put inside the bag as a gift)
- Cereal Box Cardboard (to put in bottom of bag for stability)
- Cardstock (to cover cereal box cardboard)
- Double-stick Tape (to stick fabric to cereal box cardboard)

Cutting Instructions:
The picture below shows the pieces you will have when you’re done cutting your fabric, cereal box cardboard, and cardstock according to the list below.
- Red Floral Fabric (outside of bag): Cut 2 pieces @ 7″ x 8″
- Paper Doll Fabric (bag lining): Cut 2 pieces @ 7″ x 8″
- Red Plaid (Handles): Cut 2 pieces @ 2″ x 10″
- Red Polka Dot (Pleated Edge): Cut 2 pieces @ 4″ x 12″
- Cereal Box Cardboard: Cut 1 piece @ approx. 2 1/4″ x 5 1/8″ (trim to fit if needed)
- Cardstock: Cut 1 piece @ 2: x 5″

Let’s Get Started:
1. Take the Red Floral Fabric with right sides together and sew the two (7″) sides and the (8″) bottom of the bag. Clip corners.
2. Take the Paper Doll Fabric with right sides together and sew the two (7″) sides and the (8″) bottom of the bag. Clip corners.
3. Take the Red Plaid fold with right sides together and sew. Then turn right sides out, press, and sew two lines of top stitching on both sides of each handle. Then sew a wavy line down the middle if you desire.

4. Take the inside and outside pieces and press the seams open as seen below.

5. This is a view of the open seams looking into the bottom corner of the bag.

NOTE: The next steps are kinda tricky to explain so you will want to look closely at the pictures to help you follow along.
6. You will take the side seams and match them up while moving your fingers down the bag. This will create the bottom of the bag when you’re done. Repeat for the outside of the bag too. Let the top edge of the bag fall to the right (see picture below).

7. Turn the outside and the lining pieces over so it looks like the picture below.

8. Now you are going to place the outside bag on top of the inside of the bag as seen below. Lay the top edge of the bag down so it mirrors the (lining) bag below it.

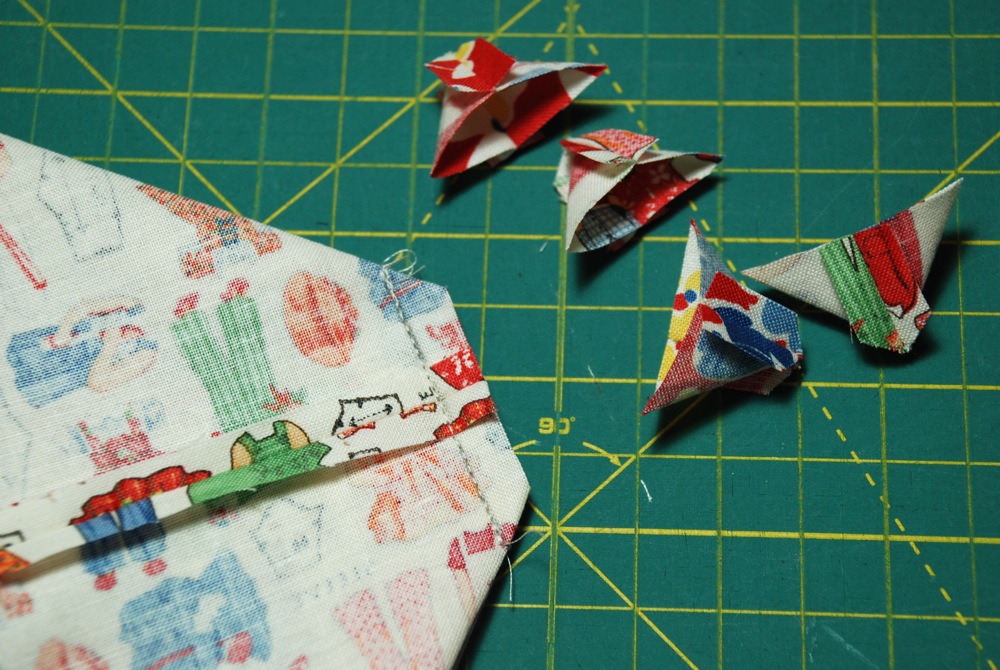
9. Measure 2″ across the pointed edge (as seen below) and draw a line.

10. Sew on the pencil line and then cut off the points.
11. It’s time to pull the outside up and around the inside lining.


12. Set aside the bag while you make the pleated trim.

13. Take the red polka dot fabric for the pleated trim and sew the side seams then press the seams open as seen below.

14. Fold the fabric in half making sure the seams match, then press the fold. Mark the center for each side of the pleat (in between the side seams). You will also make a mark at 1″ and 2″ on each side of the center.

15. Fold and pinch the fabric at the two inch mark and bring it to the center mark. Press and repeat for the other side. Baste the pleats in place.

16. Make a pencil mark at 1 3/4″ in from each side of the back and then pin the handles in place. You may stitch them down to keep them from moving.
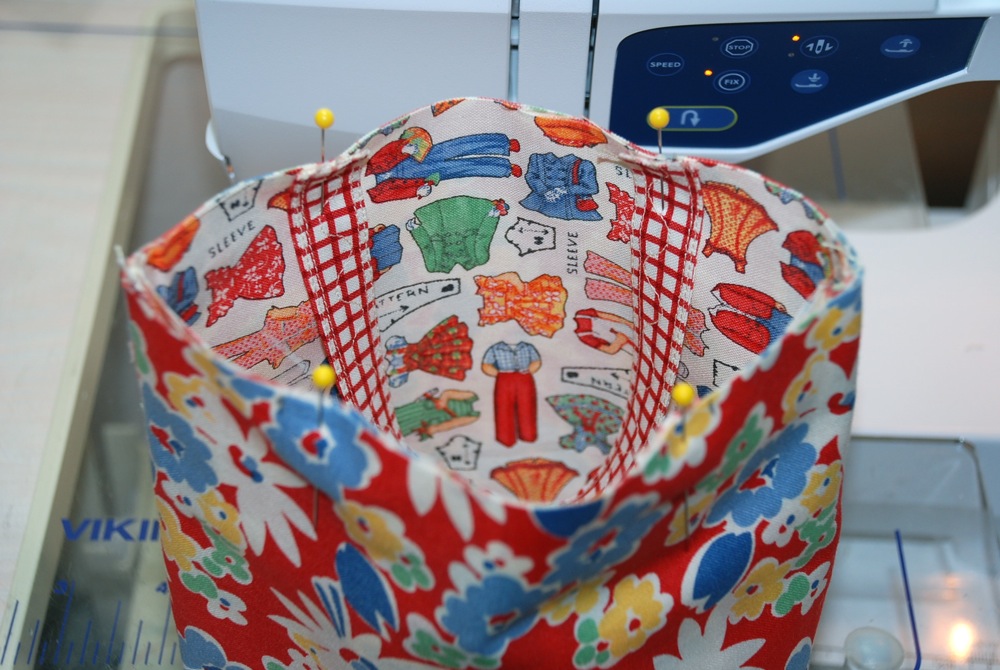
17. Now take the pleat and make sure that the pleated side is facing the inside of the bag. Match the side seams and then pin in place. Now sew around the top of the bag.

18. Pull the pleat upward and fold over the top of the bag. Pull the handles out too. Then press the top edge.
19. Now you will make the bottom insert by taking your cardboard and covering it with a piece of fabric. I used heavy duty double-stick tape. Then I place the cardstock over the back of the fabric to finish it off. Now place it into the bottom of your bag for stability.

20. This is what the inside of the bag will look like.

21. You’re DONE! Now you can fill it up and give it away.


- 3 Charmed Gift Bags out of 4 fat quarters.
 Exciting News!!!
I will then pick a WINNER on Saturday, August 1st.
![]()

Very cute bag.
Kim, I made the bag! The corner detail worked out just great. Bag is just as cute as can be. Sorry no pictures, digital camera got dropped recently. I made the first one exactly the size you wrote the pattern for. I upped the size on the next two by an inch and they also worked well. What I couldn't figure out was a cutting plan to get 3 bags from 4 FQ's. Could you share your cutting plan, please? Thank you. Carolyn/silkquilter01 at yahoo dot com
I LOVE this little charm tote. The fabric is adorable and I just bought one of those charm packs at a quilt shop during our So. CA Quitlers Run. I can't wait to dig in and make something with it!
These bags are adorable!!! Love them!! And the fabrics you used!!!!
This is a great idea. I still have some Snippets charm packs in my store and this would be a great sample to make.
Wow,
It is amazing…….
Nice work……..
keep it up….
see more
This is adorable.
thanks for sharing the pattern. I have a room full of fabric, but might just have to go buy some new. =0))
blessings
Barbara jean
I decided to use up some fabric scraps with this pattern and have been having so much fun discovering the cute combinations in my stash! My children all want their own and we are using them for friend birthday parties, as well. Thanks for sharing!