
Even here in California we are still deep in scarf weather so I thought I would share with you the favorite project around our house lately. These particular ones are made from our latest fabric collection, Gypsy Rose which is available in stores right now. You can see the whole collection here. But any style of group could be used for both boys and girls, adults and kids!
These little scarves can be whipped up in under an hour and make wonderful projects to make with your own kids or as easy, personal presents. If you like the idea, check here for our Scarfletts pattern in more varieties & styles. Or come by for a visit here to see what we are up to lately…
Happy Sewing,
Joanna


Decorative button or brooch to tie off the scarf.

CHILD GYPSY SCARF
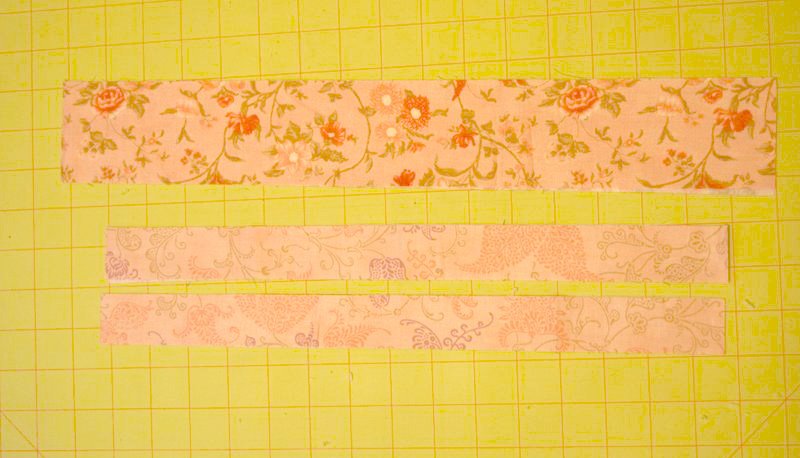
Take (5) Jelly Roll strips and cut them in half lengthwise to make (10) 1 1/4″ wide x 45″ strips. You will only need (5) of these skinny strips.
 If you are making multiple scarves then perhaps you might want to cut up more strips to give yourself a variety of color combinations. That way each scarf can be different and unique!

Sew 5 of the strips together. Press to the same side after you add each strip. Trim off the uneven edges on each end.

Use 2-4 more Jelly Roll strips and cut them crosswise into 2 1/2″ x 4 1/4″ sections. You will need 4 of these pieces total. I used 4 different fabrics for variety but you can definitely use just 2 if you are saving strips for another project.
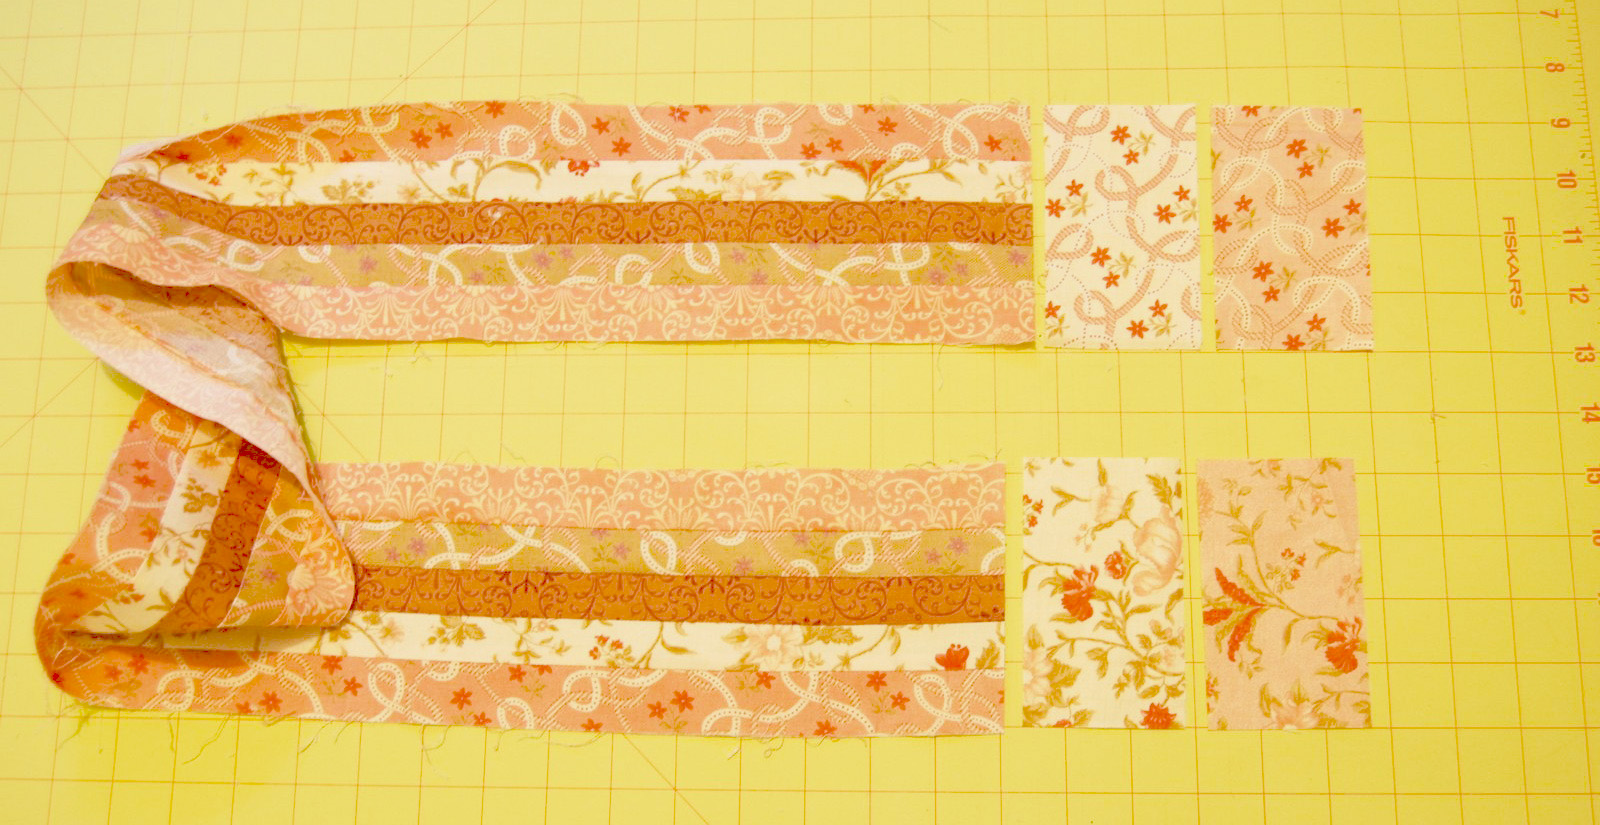 Sew 2 of those pieces to each end of your scarf. Press in one direction.

Cut a piece for the backing the same size as the scarf front. It should measure 4 1/4″ wide by the length of your scarf. Place the 2 pieces together, right sides together, and sew them together all the way around. Leave a 6″ opening on one of the long sides. Finish the edges by zigzagging or serging the seam allowance all the way around to prevent fraying later when you are washing your scarf.

Turn the scarf right sides out through the 6″ opening you left open on the side.

When you have turned the entire scarf, turn the edges of the opening down and trim the opening shut to finish the scarf. Press the scarf and topstitch 1/2″ all the way around or all the way down 2 of the strips just to stabilize it a tiny bit. No need to quilt more than that because you want the scarf to be soft and pliable around your neck and not stiff.

This is what the finished child scarf will look like.

For the mom version, follow the same general directions except the following:
[NOTE: I used 10 different jelly roll strips so that I would have the variety of fabrics that I wanted and only cut 3 from each fabric. You can use any amount of fabrics but 5 is the minimum you will need to get enough pieces.]
Keep sewing on pieces until the length of the scarf fits the person who will be wearing it. Some people like their scarves short and some long so the length is really your preference here.

Here are some fun directions for a unique way to wear your scarf that is apparently traditional in Korea and has become very popular in Japan [or so say my Japanese quilting friends]… Fold the scarf in half as shown above and place it around your neck like shown below- loop on one side and ends on the other side.

Take the ends and pull them through the looped side.

Pull all the way through and arrange around your neck as you like.


Very cute Joanna!
Love IT!! thanks
Oh my goodness your little girl is a doll! Love that smile! Great tutorial- these look like a lot of fun.
So cute Joanna! And your daughter is just too adorable!