![]()
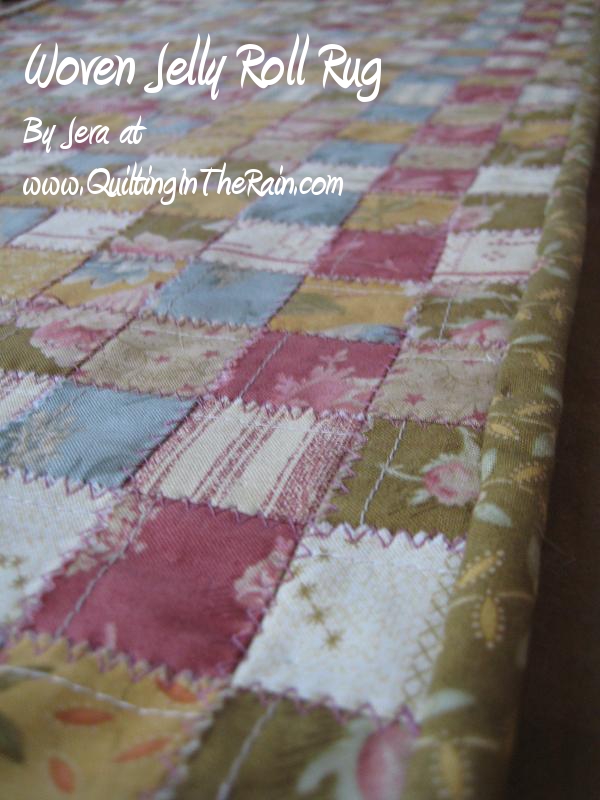
Hello! This is Jera {quiltingintherain.com} bringing you this fun weekend rug project that requires just 1 jelly roll. Make a free rug for yourself by checking out my blog for a jelly roll giveaway! I used the collection ‘Wild Rose’ by Blackbird Designs. It makes a beautiful rug to display in your sewing room or to put by the fireplace. Seven simple steps below! Oh, and there’s a surprise bonus picture at the bottom of the tutorial ;-p
- 1 Jelly Roll
- *Non-slip liner for drawers, enough to cover 20”x30”
- Scrap backing fabric, measuring 20”x30”
*Originally I tried using non-slip rug padding but it was too thick to sew through. The non-slip drawer lining is much thinner and works better.


Step 1 – From your jelly roll, choose 28 strips and do the following:

Step 2 – Cut the backing fabric.
From your scrap fabric, cut a 20”x30” rectangle. I used a semi-thick fabric.

Step 3 – Place the 30” long strips along the length of the backing fabric and pin at the ends. Sew a ¼” seam to keep in place. Continue until you’ve attached all 16 strips.


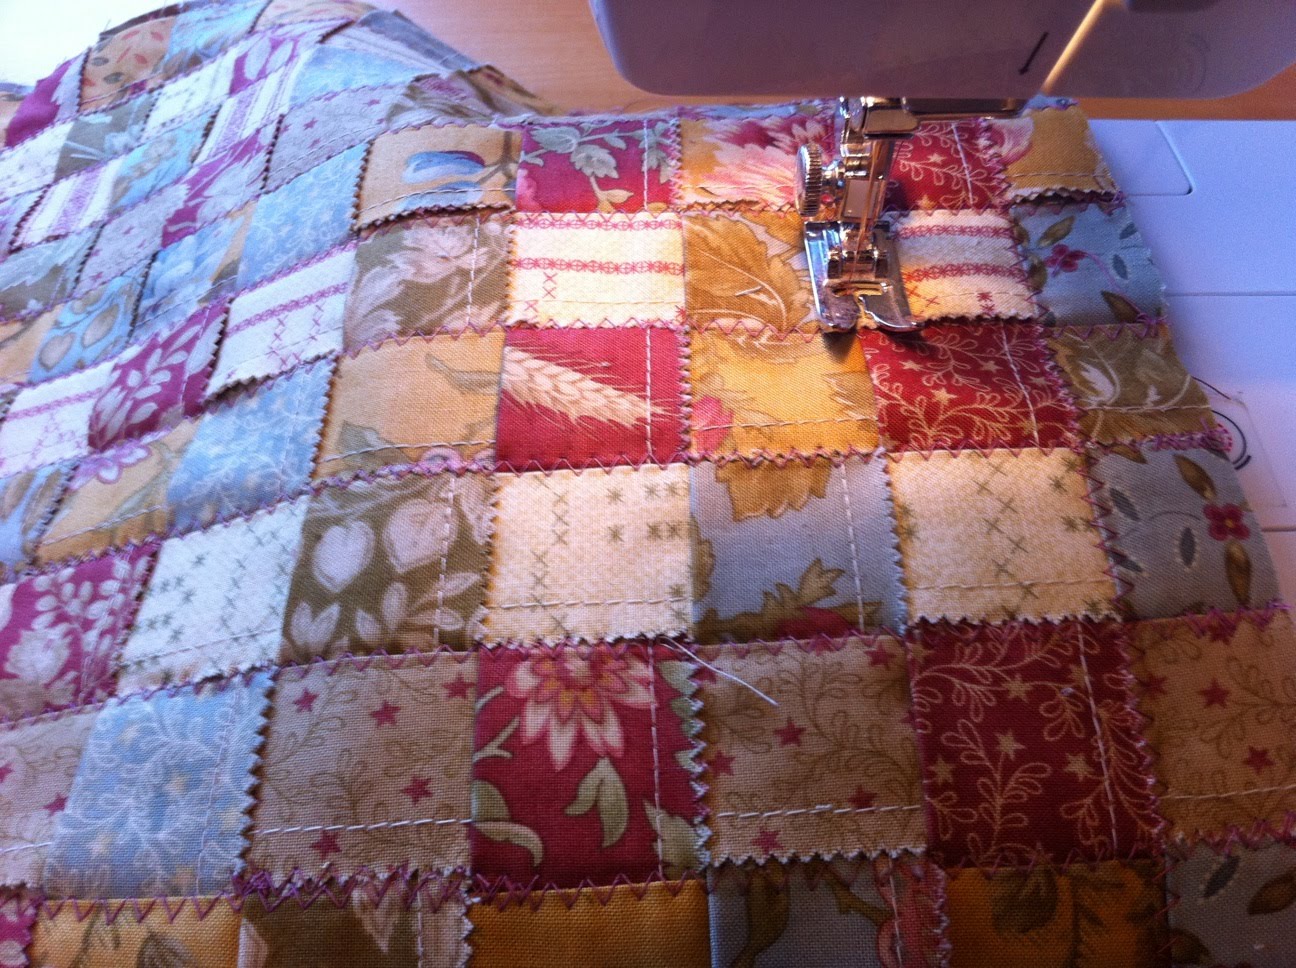
Step 4 – Take your 20” long strips and weave along the width, over and under the 30” long strips you attached in the previous step. Pin as you weave them to keep them in place.

For each strip, sew a zig-zag stitch to secure the weave. I pinned and sewed 3 strips at a time.


Step 5 – After you’ve finished weaving in all of the 20” strips and sewing zig-zag stitches along the width of the rug, go back and sew zig-zag stitch along the length as well. Trim off excess strips that hang over the 20”x30” backing.
Step 6 – From your non-slip liner, cut a 20”x30” rectangle and pin to the back of your rug to keep in place.

Step 7 – Lastly, bind the rug using leftover jelly roll strips as described in Oda May’s Binding with a Jelly Roll tutorial.

One fabulous 20″x30″ rug!
Bonus picture!

My dog Paige has grown very fond of the woven jelly roll rug. 🙂
Don’t forget to check out my blog for a chance to win a jelly roll!
Thanks for stopping by!
Jera Brandvig,
{QuiltingInTheRain.com}
![]()
